3. Start the Devilbox
Congratulations, when you have reached this page everything has been set up and you can now get your hands dirty.
Note
Starting and stopping containers is done via docker-compose. If you have never worked with
it before, have a look at their documentation for an
overview,
up and
stop commands.
Table of Contents
3.1. Start all container
If you want all provided services to be available (as defined in docker-compose.yml),
just start them all via:
host> docker-compose up
- If you want to gracefully stop all container, hit
Ctrl + c - If you want to kill all container, hit
Ctrl + ctwice
3.2. Start some container
If you don’t require all services to be up and running and let’s say just PHP, HTTPD and
MYSQL, enter the following command:
host> docker-compose up httpd php mysql
- If you want to gracefully stop all started container, hit
Ctrl + c - If you want to kill all started container, hit
Ctrl + ctwice
See also
- Available container
- Have a look at this page to get an overview about all available container and by what name they have to be specified.
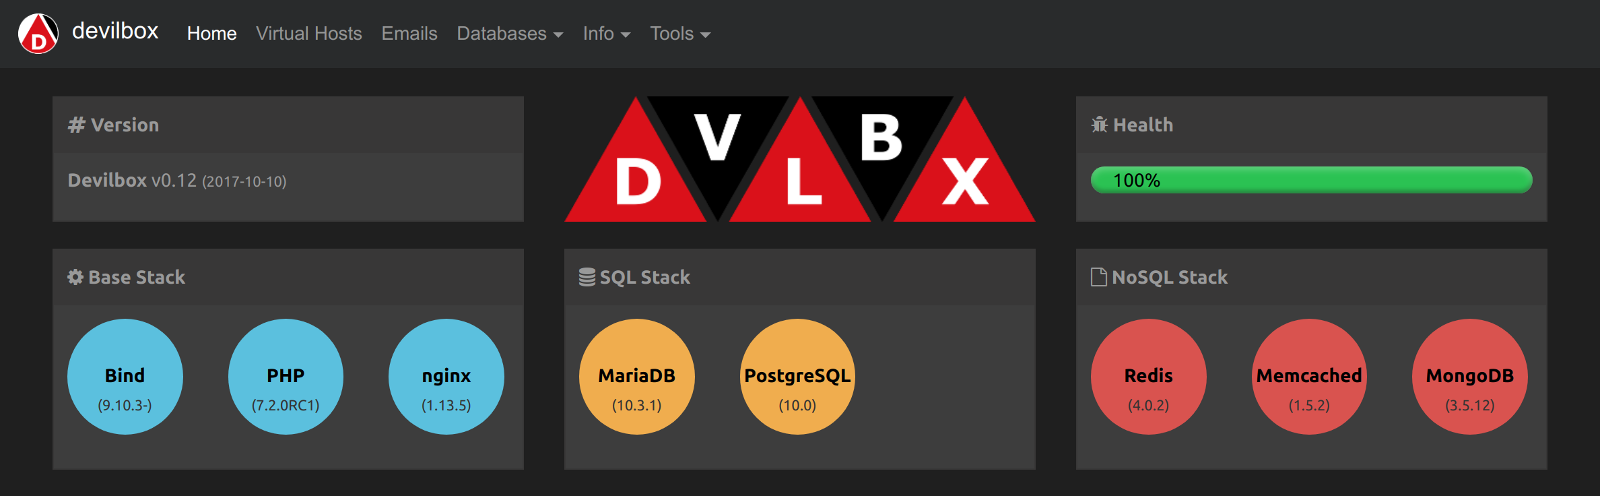
3.3. Open Devilbox intranet
Once docker-compose up has finished and all or the selected container are up and running,
you can visit the Devilbox intranet with your favorite Web browser at http://localhost or
http://127.0.0.1.
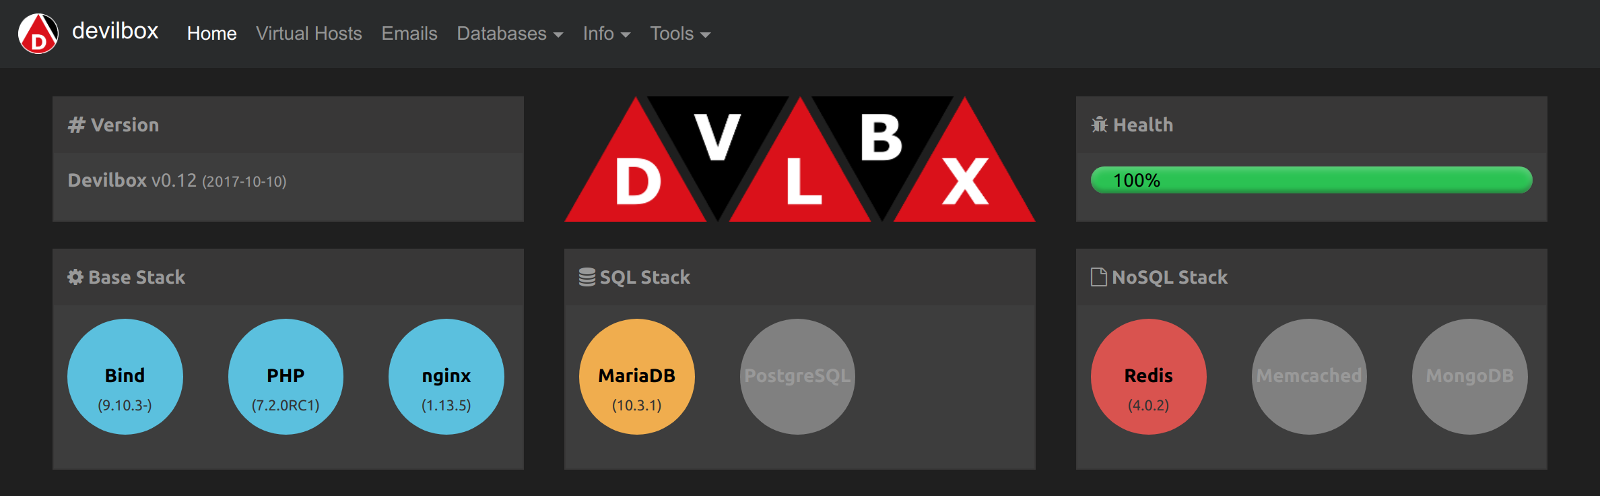
The Intranet start page will also show you all running and failed containers:
Warning
- Docker Toolbox
- When you are using
Docker Toolboxthe Devilbox Web server port will not be available on your host computer. You have to forward the virtual machines port to your host computer. Read more about it on this guide.
3.4. Checklist
- Docker container are started successfully with
docker-compose up - Intranet is reachable via
http://localhostorhttp://127.0.0.1