HTTPS (SSL)
This page shows you how to use the Devilbox on https and how to import the Certificate Authority into your browser once, so that you always and automatically get valid SSL certificates for all new projects.
SSL certificates are generated automatically and there is nothing to do from your side.

Table of Contents
How does it work
Certificate Authority
When the Devilbox starts up for the first time, it will generate a
Certificate Authority and will store its
public and private key in ./ca/ within the Devilbox git directory.
The keys are only generated if they don’t exist and kept permanently if you don’t delete them manually, i.e. they are not overwritten.
host> cd path/to/devilbox
host> ls -l ca/
-rw-r--r--  1 cytopia cytopia 1558 May  2 11:12 devilbox-ca.crt
-rw-------  1 cytopia cytopia 1675 May  2 11:12 devilbox-ca.key
-rw-r--r--  1 cytopia cytopia   17 May  4 08:35 devilbox-ca.srl
SSL Certificates
Whenever you create a new project directory, multiple things happen in the background:
- A new virtual host is created
- DNS is provided via Auto-DNS
- A new SSL certificate is generated for that vhost
- The SSL certificate is signed by the Devilbox Certificate Authority
By having a SSL certificates signed by the provided CA, you will only have to import the CA into your browser ones and all current projects and future projects will automatically have valid and trusted SSL certificates without any further work.
Important
Importing the CA into the browser is also recommended and required for the Devilbox intranet page to work properly.
Import the CA into your browser
Chrome / Chromium
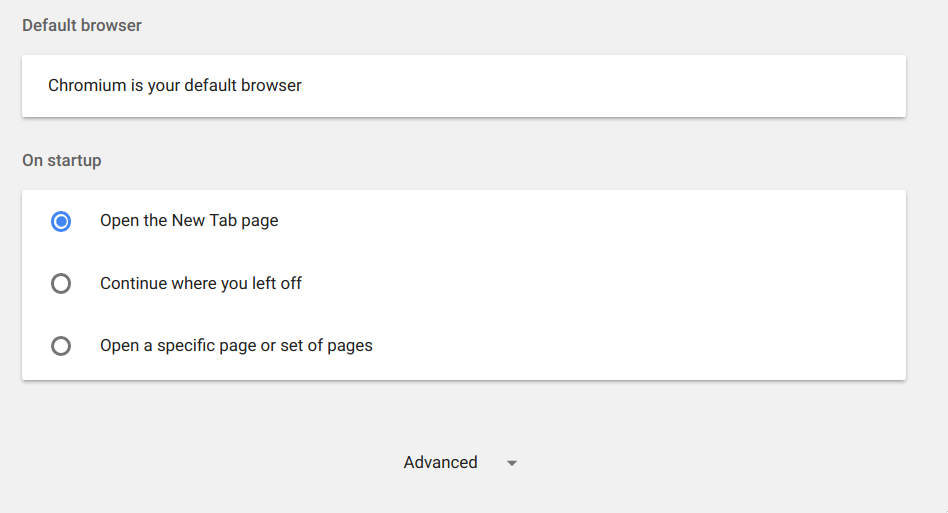
Open Chrome settings, scroll down to the very bottom and click on Advanced to expand the
advanced settings.
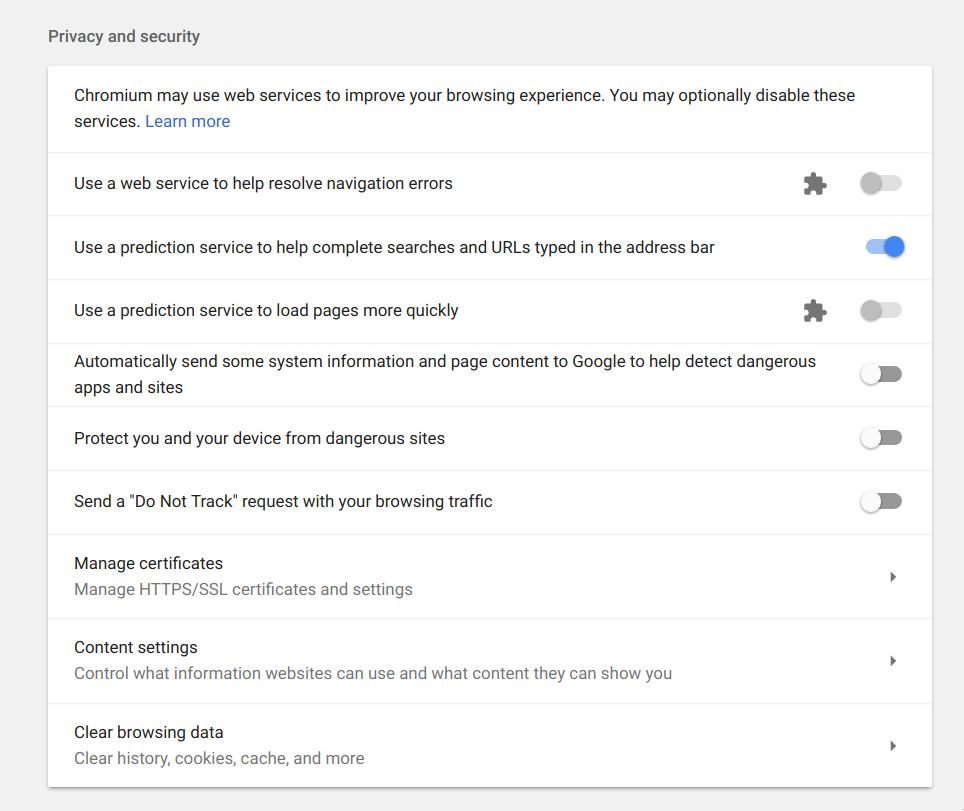
Find the setting Manage certificates and open it.
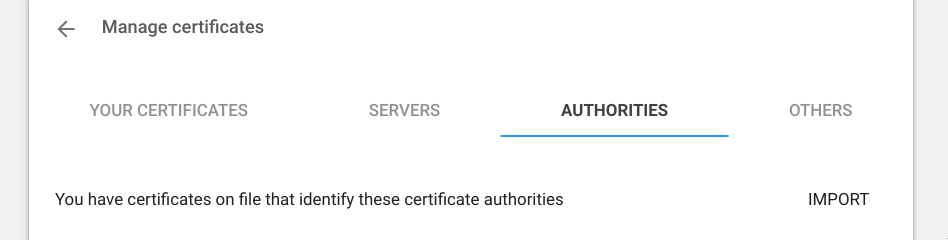
Navigate to the tab setting AUTHORITIES and click on IMPORT.
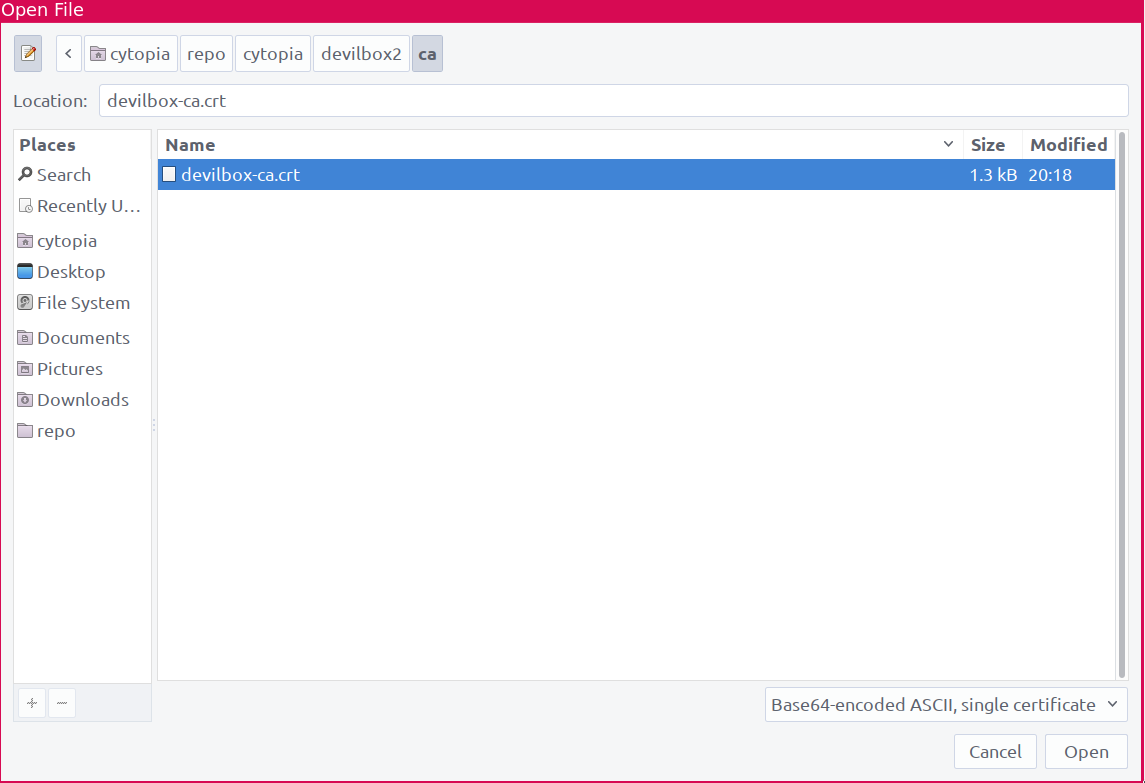
Select devilbox-ca.crt from within the Devilbox ./ca directory:
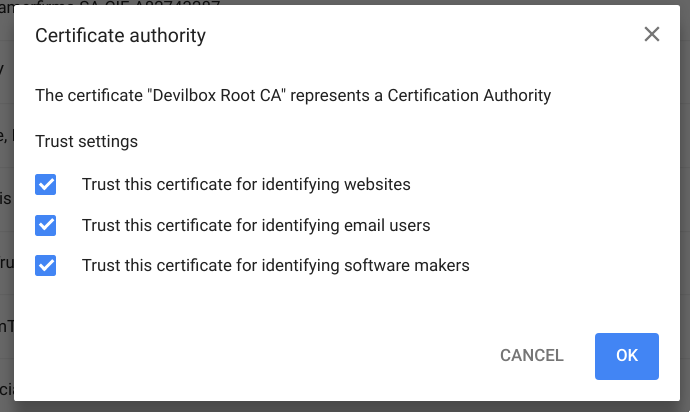
As the last step you are asked what permissions you want to grant the newly importat CA.
To make sure it works everywhere, check all options and proceed with OK.
Now you are all set and all generated SSL certificates will be valid from now on.
Firefox
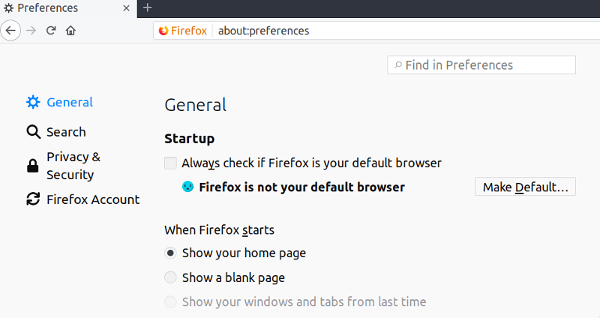
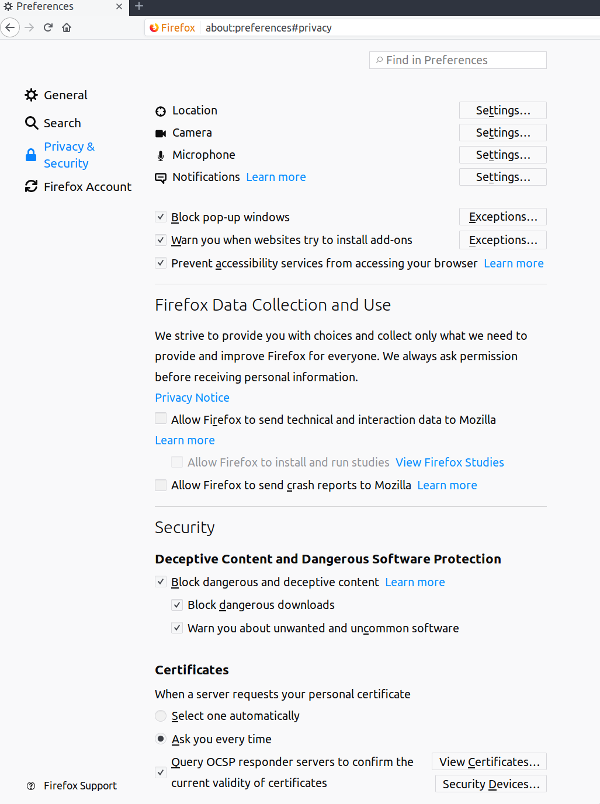
Open Firefox settings and click on Privacy & Security.
At the very bottom click on the button View Certificates.
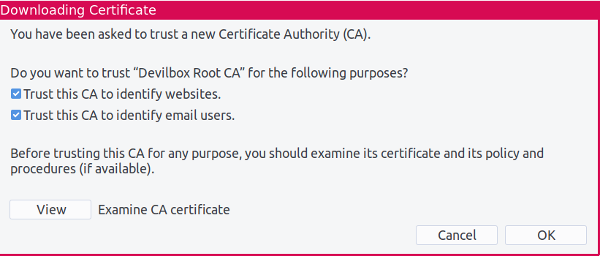
In the Authories tab, click on Import.
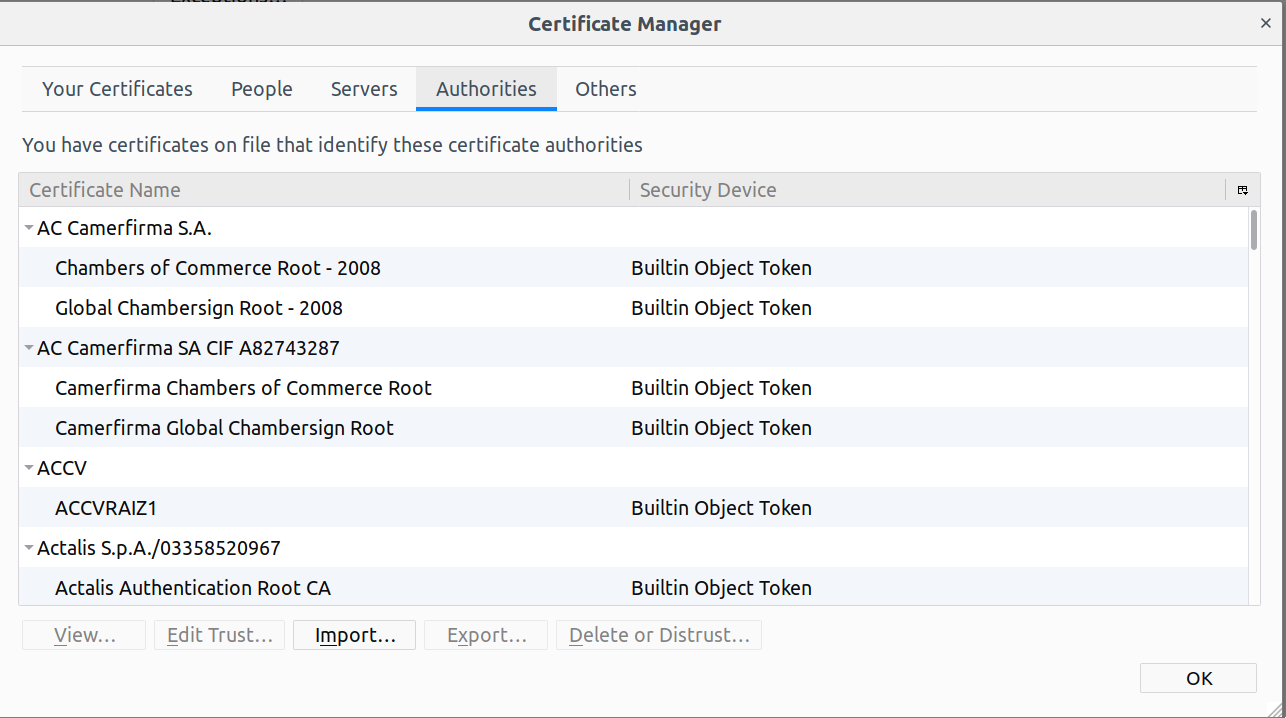
Select devilbox-ca.crt from within the Devilbox ./ca directory:
As the last step you are asked what permissions you want to grant the newly importat CA.
To make sure it works everywhere, check all options and proceed with OK.
Now you are all set and all generated SSL certificates will be valid from now on.
Further Reading
See also
.env variable: DEVILBOX_UI_SSL_CN