3. Start the Devilbox
Congratulations, when you have reached this page everything has been set up and you can now get your hands dirty.
Note
Starting and stopping containers is done via docker-compose. If you have never worked with
it before, have a look at their documentation for
overview ![]() ,
up
,
up ![]() ,
stop
,
stop ![]() ,
kill
,
kill ![]() ,
rm
,
rm ![]() ,
logs
,
logs ![]() and
pull
and
pull ![]() commands.
commands.
Table of Contents
3.1. The Devilbox startup explained
To gain a brief understanding about what is happening under the hood during startup, read ahead or skip directly to: Start all container.
Startup operations with the same configuration are idempotent, thus consecutive startups will not introduce any new changes. The following shows the brief startup steps:
- Docker Compose will automatically pull all necessary Docker images if they do not exist locally.
- Once the HTTPD container start, it will automatically create a Certificate Authority to be used
for https connections and will place it in the
ca/directory. - The HTTPD container will then look for already available projects and create virtual hosts configurations, apply vhost-gen templates as well as CA-signed HTTPS certificates.
- Once the Bind container start, it will create a wildcard DNS zone for the given TLD_SUFFIX
- In case MySQL or PgSQL container start, they will populate itself with their required default databases.
Note
Docker images are only pulled if they do not exist. They are not updated automatically. If you want to update to new Docker images read on: Update the Devilbox.
3.2. Start all container
If you want all provided docker container to be available (as defined in docker-compose.yml),
start them all by not explicitly specifying any image name.
3.2.1. Foreground
For the first startup, foreground start is recommended to see any errors that might occur:
host> docker-compose up
- If you want to gracefully stop all container, hit
Ctrl + c - If you want to kill all container, hit
Ctrl + ctwice
3.2.2. Background
For consecutive startups you can send them into background (-d):
host> docker-compose up -d
- If you want to gracefully stop all container, enter
docker-compose stop - If you want to kill all container, enter
docker-compose kil
3.3. Start some container
If you don’t require all container to be up and running and let’s say just PHP, HTTPD and
MYSQL, you must explicitly specify the image names to start:
3.3.1. Foreground
host> docker-compose up httpd php mysql
- If you want to gracefully stop all started container, hit
Ctrl + c - If you want to kill all started container, hit
Ctrl + ctwice
3.3.2. Background
host> docker-compose up -d httpd php mysql
- If you want to gracefully stop all container, enter
docker-compose stop - If you want to kill all container, enter
docker-compose kil
See also
- Available container
- Have a look at this page to get an overview about all available container and by what name they have to be specified.
3.4. Open Devilbox intranet
Once docker-compose up has finished and all or the selected container are up and running,
you can visit the Devilbox intranet with your favorite Web browser at http://localhost or
http://127.0.0.1.
The Intranet start page will also show you all running and failed containers:
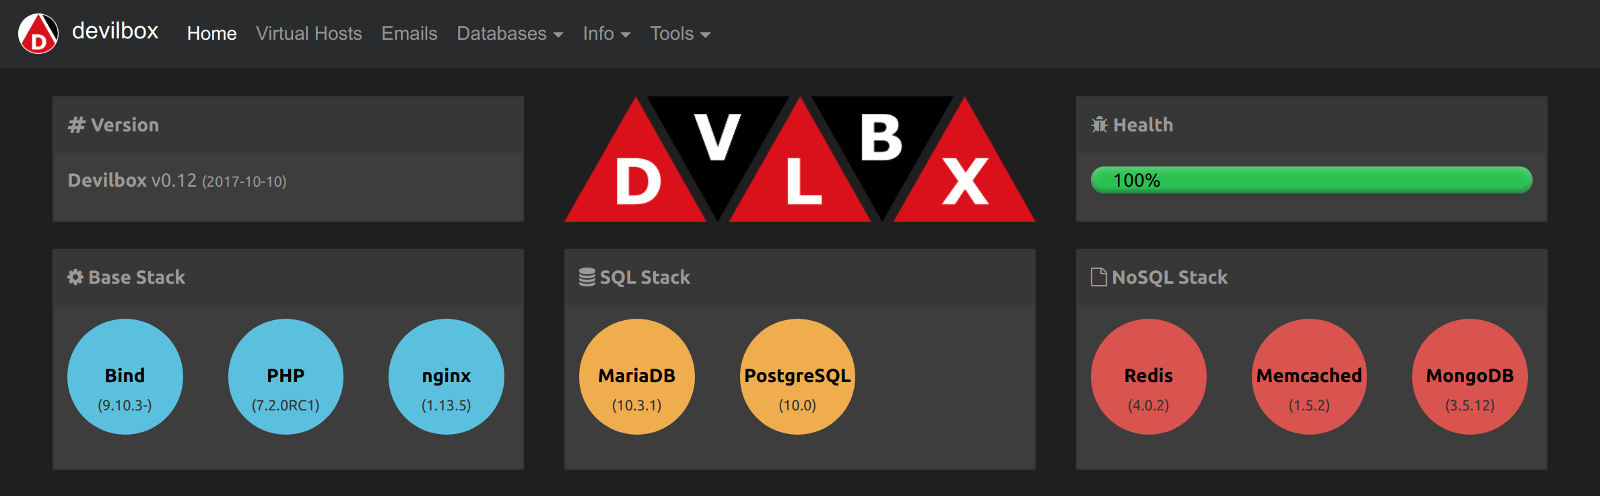
Devilbox intranet: index dash view for all started container
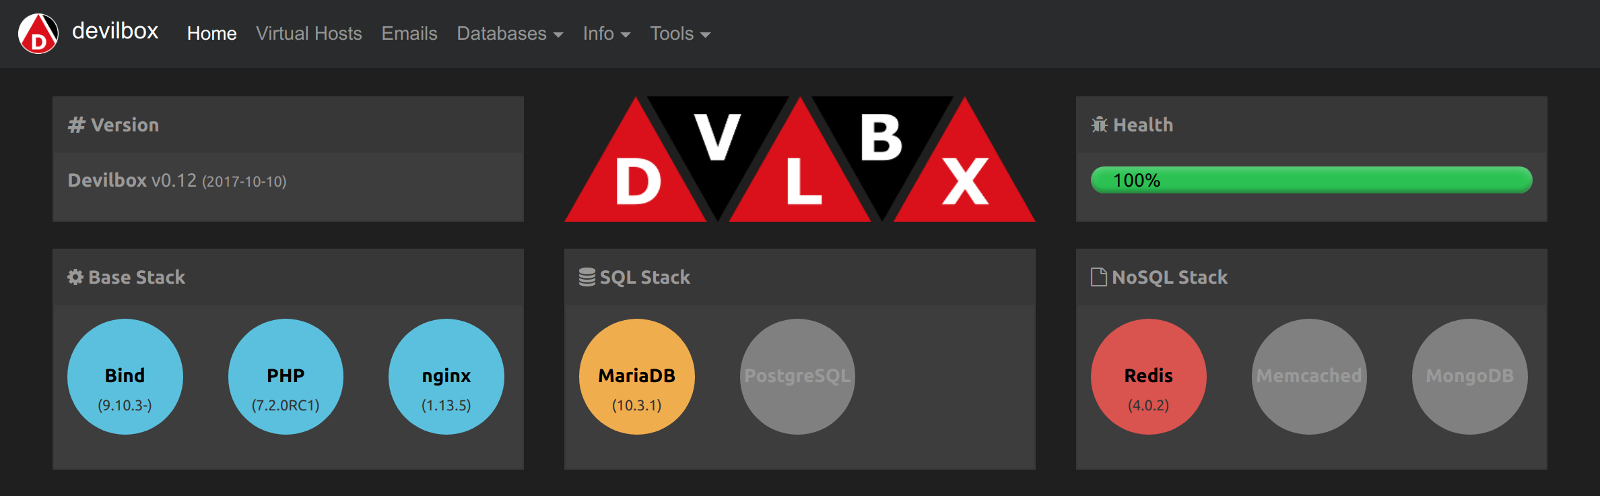
Devilbox intranet: index dash view for some started container
Important
- Find Docker Toolbox IP address
- When you are using
Docker Toolboxthe Devilbox web server port will not be available on your host computer. You first have to find out on which IP address the Docker Toolbox machine is serving and use this one instead.
3.5. Checklist
- Docker container are started successfully with
docker-compose up - Intranet is reachable via
http://localhost,http://127.0.0.1or Docker Toolbox IP address
See also